How to Build an Interior Moodboard That Holds Up
A mood board is easy to make and easy to trust too much. Here is how to build one that still matches the finished room once the site, the structure and the real materials are locked in.
Luxom Studio · LUXOM Developments
· 6 min read · Last reviewed
Key takeaways
- A mood board is good at setting direction and palette. On its own it cannot confirm that a pick will actually read the same once it is installed in a real room.
- Work digital first to set the palette, then force every finalist into a physical sample. A photo of a stone and a slab of that stone are not the same decision.
- Collect the material itself, not a picture of it: paint drawn out, fabric cut, stone, wood and tile samples large enough to judge, not swatches the size of a coin.
- Site and structure decisions, where a wall sits, how tall a window can run, what a floor is built to hold, get fixed before a single finish is chosen. A board that ignores that order is picking finishes for a room that may not exist as drawn.
- Test the finalists under the room's own daylight before you order anything. Stone, plaster and paint all shift under real sun in a way a screen and a showroom's lighting rig do not show you.
Editor's note
We put a moodboard on Luxom's own feed recently, seven slides, no captions beyond "if you like this... and this... this...", just a run of rooms we would happily build. It is the fastest way to show taste without saying a word, and it is also, on its own, an incomplete way to plan a room. A save-worthy image tells you what you are drawn to. It does not tell you whether the wall behind it can hold that stone, or whether the light in your own house will make that plaster read the way it does in the photo. Here is the fuller process, the one we actually put a client's references through before a single material gets ordered.
A Mood Board Promises a Room It Cannot Fully Deliver Alone
A mood board is the right first move. It takes a vague instinct, warm, quiet, a little worn in, and turns it into an actual palette: a stone, a wood tone, a plaster color, a short list of materials that keep showing up together across dozens of saved images. That narrowing is genuinely useful work, and it is where most guides to building a mood board stop.
The gap is what happens after the board looks right. A board is built from two things that lie a little: photographs on a screen, which compress color and light into a fixed, edited version of a room, and small samples under a showroom's lighting rig, which is nothing like the daylight in your own house. Neither tells you how the actual pick will behave once it is installed at full scale, in your own room, under your own windows. The board is a direction. It is not yet a decision.
Build It Digital First, Then Force It Into the Physical World
Start digital because it is fast. Pulling references from Pinterest, magazines or a shared folder lets you sort through a large number of rooms quickly and notice what keeps repeating: the same warm neutral, the same fluted wood, the same honed stone. That repetition is the signal. Once a handful of materials keep showing up across your favorites, you have a direction, not just a folder of pretty rooms.
The mistake is treating the digital board as finished. It is the shortlist, not the order. Every material that survives the digital round needs to be pulled into the physical world next: a real paint swatch, a real fabric cut, a real stone or tile sample, arranged together in the room the work will actually happen in. The digital board tells you what you like. The physical one, built from the same shortlist, is what tells you whether that direction actually works.
Collect the Real Sample, Not a Picture of One
A photo of a stone is not a stone. Once the digital shortlist is set, the next step is gathering the material itself, in a size large enough to judge honestly. Paint drawn out across a real section of wall, not a chip the size of a stamp. Fabric cut generously enough to drape and see how it folds and catches light. Flooring and wood samples large enough to read grain and tone, not a two inch square. Stone and tile in an actual cut finish, since a coaster sized swatch will not show the veining or color drift a full slab shows once it is templated and installed.
Small samples flatten differences that matter at scale. A pale travertine and a warmer one can look nearly identical as thumbnail sized swatches and read completely differently once they cover a floor. Our guide to choosing stone between quartzite, marble and travertine is written for exactly this stage, once a material is a real candidate and not just a photo.
The Site and the Structure Get Decided Before Any Finish Does
This is the step every generic mood board guide skips, and it is the one that decides whether the finished room will actually resemble the board. Before any finish gets chosen, the site and the structure already set hard limits on what a room can be: where a wall can sit, how tall a window is engineered to run, what a floor was built to carry, which direction the light actually comes from. A mood board assembled without knowing those limits can fall for a look the room was never going to allow.
On our Crystal Residence primary suite in Coconut Grove, the room's glazing wall, its floor level and its orientation were fixed by the site survey before a single interior finish was chosen, because the view corridor and Florida's hurricane glazing requirements decided what that wall could hold before decor did. Floor to ceiling glass reads as a mood board favorite in a photo. In a high velocity hurricane zone, it is impact rated structural glazing, engineered against the Florida Building Code's wind load requirements, and that engineering has to be settled before the glass gets drawn into anyone's board. Site first, structure second, finishes last, is the same sequencing behind every Luxom build.
Pull quote
A board tells you what you like. It does not tell you what a wall can hold.
Test Every Pick Under the Room's Actual Light
The last check happens in the room itself, not on a desk. Bring the physical samples in at the time of day the room actually gets used, and look at them there. A warm stone or a hand applied plaster shifts more under real daylight than most people expect: a finish that reads perfectly at noon under a shop's overhead lighting can look entirely different at 7pm under a room's own fixtures. Hold the samples against the actual wall, the actual floor, and against each other, not just against a laptop screen.
This is also where a material's honesty gets tested. A finish like Venetian plaster is nearly impossible to judge from a photo at all, since its entire appeal is how it catches and holds light across a troweled surface, something a flat image cannot show. If a pick still looks right after a full day in the room it is meant for, it has earned a place in the budget. If it only worked in the photo, it was a preference, not yet a decision.
What a Board That Survives Construction Looks Like
A mood board that actually predicts the finished room is not a bigger board or a prettier one. It is a shorter one, built in the order a home actually gets built: digital first for direction, then real samples instead of pictures of them, checked against what the site and structure will actually allow, then tested under the room's own light before anything gets ordered. Skip a step and the board stays a wish list. Follow all four and it becomes a spec.
If your board is converging on a calmer, more restrained palette, our guide to warm minimalism is a useful next stop for narrowing the material list further. When you are ready to take a validated board into an actual scoped design and build, our services page walks through how that process runs end to end, and you can start that conversation any time through the contact page.
Pull quote
A board tells you what you like. It does not tell you what a wall can hold.
Filed under
Questions about interior design moodboard that predicts the finished room
01What is an interior design mood board, and what can it actually decide?
A mood board is a collected set of references, images, colors, materials and objects, arranged together so a direction becomes visible before anything gets bought. What it is genuinely good at is narrowing: turning a vague sense of "warm" or "quiet" into an actual palette and a short list of materials. What it cannot do by itself is confirm that the palette will work in the room you actually have. A board is built from photos on a screen and swatches under store lighting, and neither one tells you how a stone or a plaster will read against your own walls, at your own ceiling height, under your own windows. Treat the board as the direction, not the final decision, and test the finalists in the room itself before you commit a budget to them. For how that same discipline plays out once a project is under construction, see our guide to quiet luxury interior design.
02Should I build a digital mood board or a physical one first?
Digital first, physical second. A digital board, built from Pinterest saves, magazine tears or a simple slide deck, is the fast way to sort through hundreds of references and find the handful of directions that keep repeating. That speed is exactly why it should not be the last step. Once a direction is clear, pull the finalists into a physical board: real paint drawn out on the actual wall, real fabric, real stone or tile samples, arranged in the room the work will happen in. The digital board tells you what you are drawn to. The physical board, tested in the actual light, tells you whether that direction survives contact with the room.
03What samples belong on a mood board besides photos?
Anything the room will actually touch: paint drawn out in a large swatch rather than a chip, fabric cut generously enough to drape and see how it falls, flooring and wood samples large enough to judge grain and tone, stone and tile samples in the actual finish, and any hardware or metal finish that will sit nearby. Small samples lie. A paint chip the size of a stamp and a wall painted floor to ceiling read as different colors because light behaves differently at scale. The same is true of stone: a swatch the size of a coaster does not show you the veining and color drift that a full slab will show once it is cut and installed. Our guide to choosing stone walks through what to look for once a sample gets to that size.
04Why does a finished room sometimes look nothing like the mood board that inspired it?
Almost always because the board skipped the decisions that come before decor. Where a wall sits, how tall a window is allowed to run, what a floor is engineered to hold, these are site and structure calls made long before anyone chooses a finish, and they set hard limits on what a mood board's picks can actually become. On our Crystal Residence primary suite, the room's glazing wall, floor level and orientation were fixed by the site survey and Florida's hurricane glazing requirements before a single interior finish was chosen. A board built without knowing those limits can fall in love with a look the site was never going to allow, floor to ceiling glass on a wall that faces a neighbor's window, a stone floor a structure was not built to carry. Confirm what the room can hold before you fall in love with what it could look like.
05How do you test a mood board before ordering any material?
Bring the physical samples into the actual room, at the actual time of day the room gets used most, and look at them there instead of on a desk or under a showroom's lighting rig. Morning light and afternoon light change a warm stone or a hand applied plaster more than most people expect, and a finish that looks right at noon under gallery lighting can read completely different at 7pm under your own fixtures. Hold the samples against the wall, the floor, and each other, not just against a laptop screen. If a pick still reads right after a full day in the room it is actually built for, it has earned a place in the budget. If it only worked in the photo, it was never a decision, only a preference.
Explore the portfolio
Projects to see


Talk to the studio
If this belongs in your home, our studio will draw the plan.
Initial conversation, 30 minutes. We listen to the brief and respond with a scoped proposal within five working days. You can also read the services page for typical timelines and fees.
Written by Luxom Studio · LUXOM Developments
The design and development studio behind LUXOM residences in Coconut Grove, Miami
Keep reading
From the journal
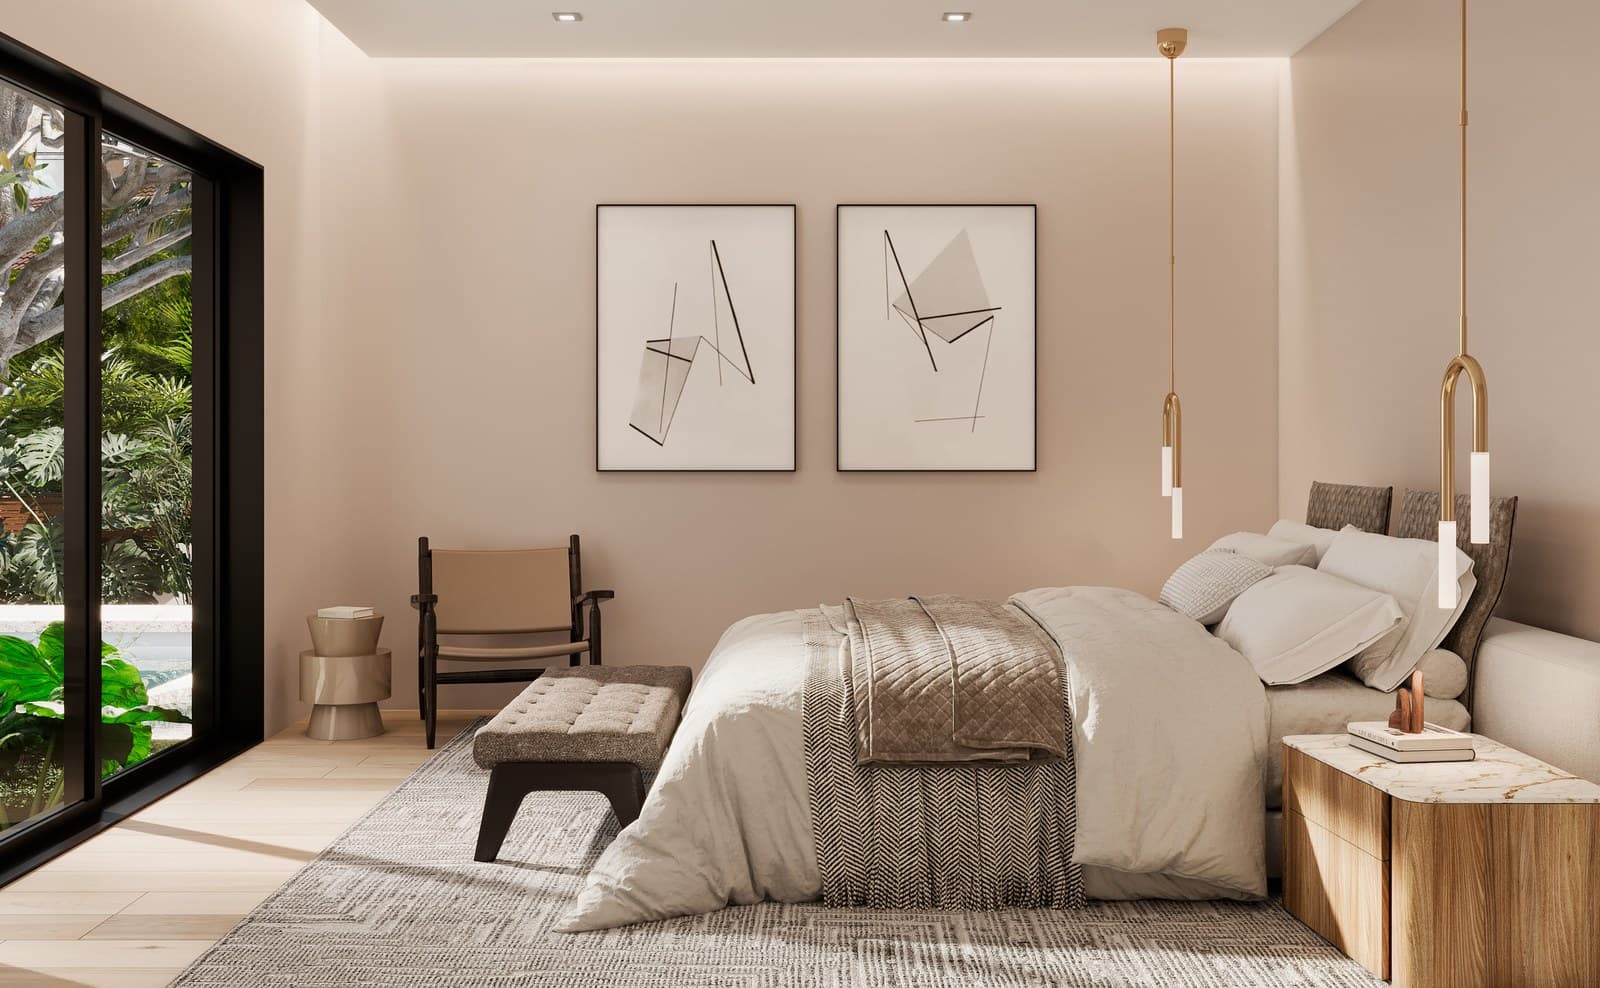
Interiors · Jul 9, 2026 · 4 min
Quiet luxury: the anti-trend that lasts
The design language that reads as expensive without announcing it. What quiet luxury is, the materials that carry it, and how to build a home that ages into value instead of out of it.
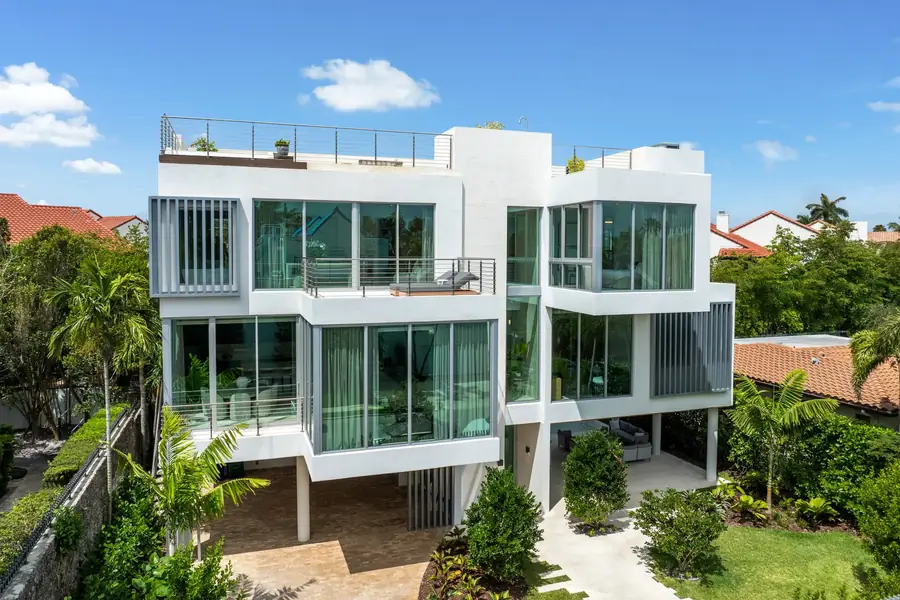
Architecture · Aug 1, 2026 · 5 min
Designing the Crystal Residence Primary Suite Around Its View
Inside the primary suite fit-out at our Crystal Residence in Coconut Grove: how a room actually gets built around a view, and why that decision happens long before the glass goes in.
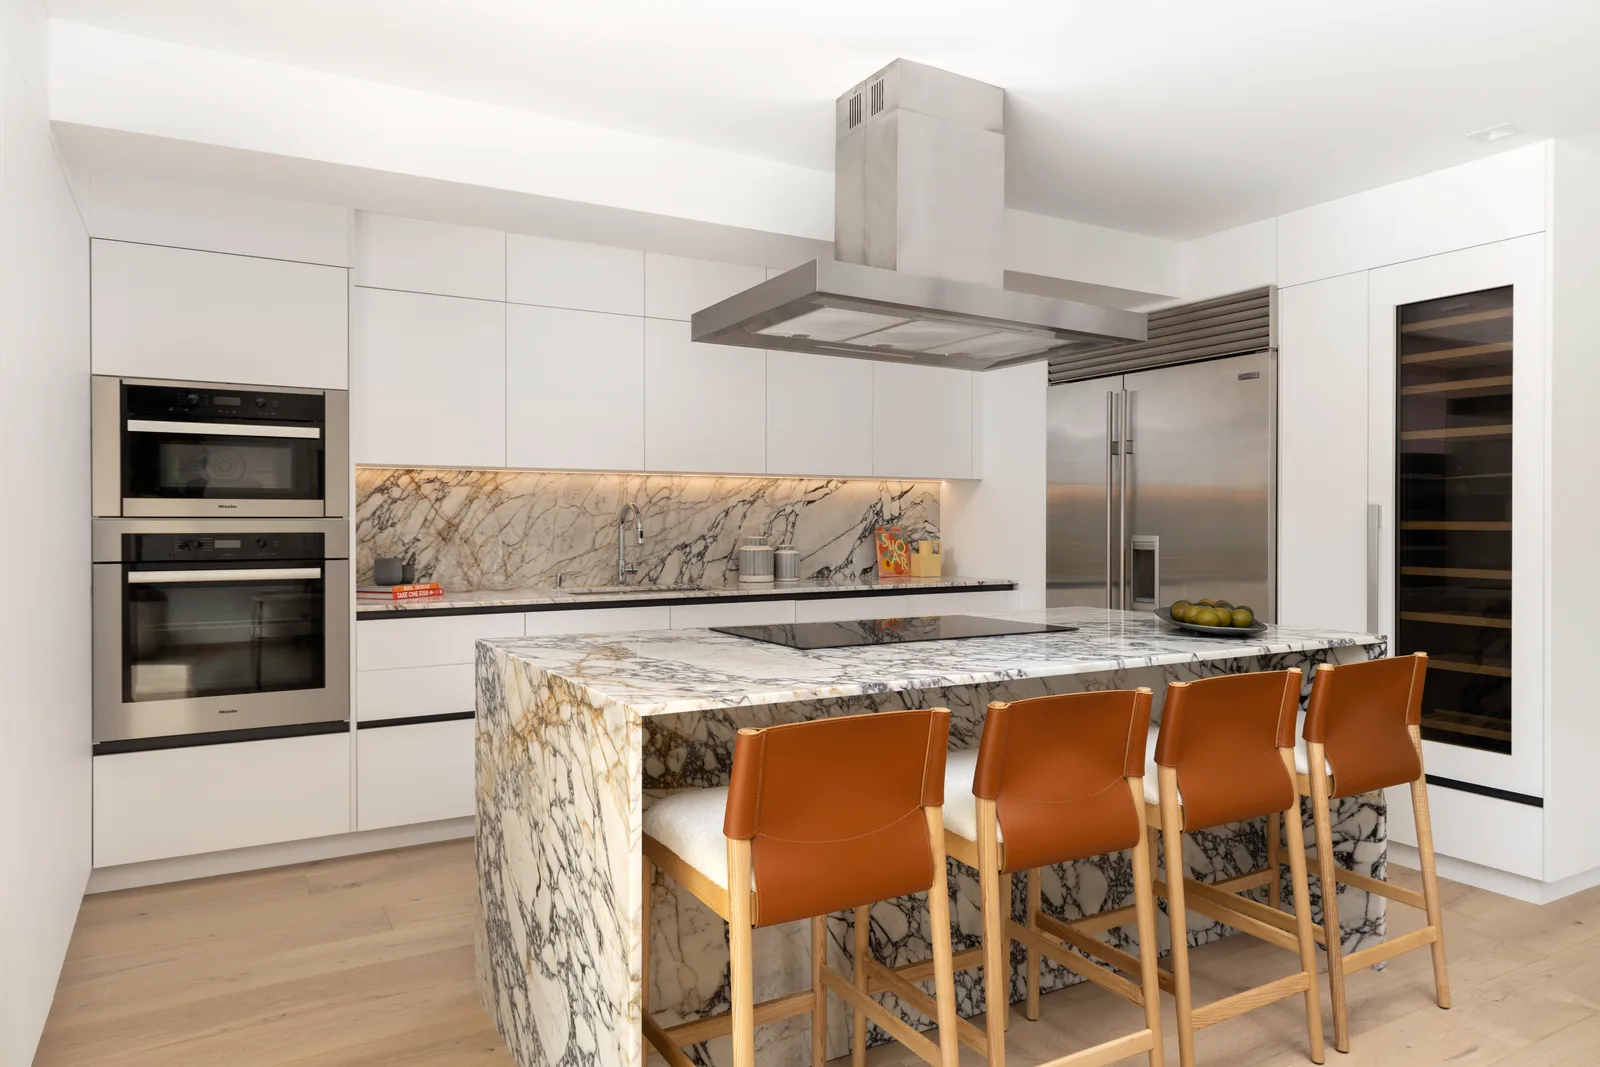
Materials · Jul 18, 2026 · 4 min
Choosing stone: quartzite, marble, and travertine
A working guide to natural stone countertops. How quartzite, marble and travertine differ in hardness, look and upkeep, and when each is the right choice.